Spring brings magic with blooming flowers and warm sunlight. This Easter, make your home special with easter diy crafts. These projects add color and love, perfect for crafting with kids or decorating your table.
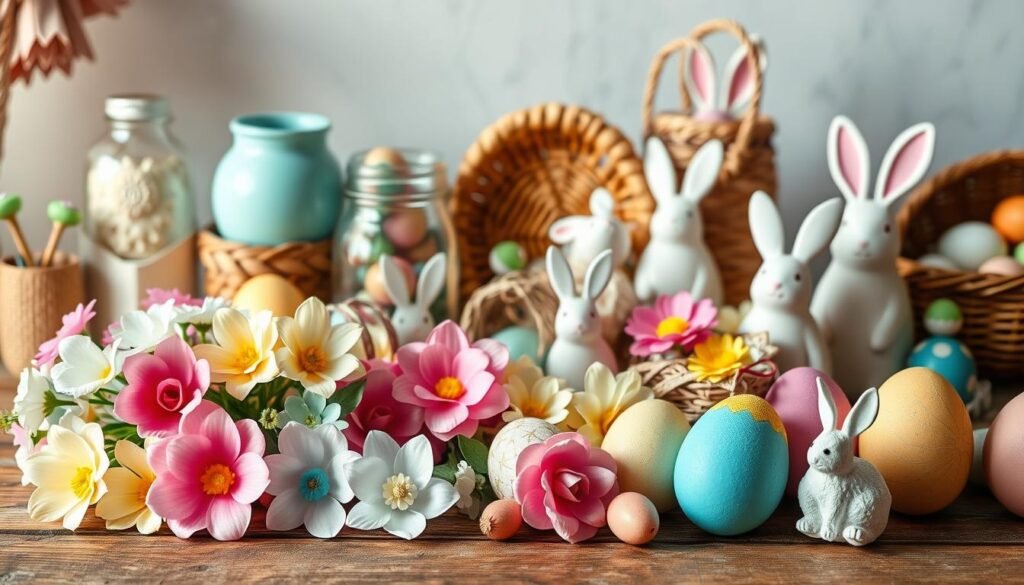
Try making vibrant egg wreaths or whimsical bunny luminaries. These 10 easy projects use items you probably have or can easily find. They’re great for beginners and experts alike, with clear step-by-step guides. Imagine the joy on a child’s face or the pride in your handmade easter diy crafts decor.
Table of Contents
Key Takeaways
- 10 projects range from easy to advanced, suitable for all ages and skill levels.
- Includes budget-friendly options using Dollar Tree materials and upcycled items.
- Step-by-step instructions make crafting accessible even for first-time creators.
- Projects like egg wreaths and fabric-covered eggs add unique easter diy crafts decor to any home.
- Create lasting memories while preparing for Easter with family-friendly activities.
Why Easter DIY Crafts Are Perfect for Spring Celebrations
Easter DIY crafts mix creativity with tradition, making spring fun for everyone. They encourage families to put down their screens and enjoy the season together. Crafting together strengthens bonds that last longer than any decoration.
Benefits of Crafting with Family
Working on easter diy crafts for kids and adults brings families closer. Parents and children discover new skills and laugh together. A 2023 study by the American Craft Council found that 78% of families feel closer after crafting together.
Try decorating eggs or making baskets. These simple tasks let everyone contribute and have fun.
Materials You'll Need for Most Easter Crafts
- Construction paper and cardstock
- Paints, markers, or fabric scraps
- Googly eyes and pipe cleaners
- Recycled containers (egg cartons, jars)
- Basic tools like scissors and tape
These basics are great for easter diy crafts for kids or adults. Keep a “craft box” ready to make prep easier.
Skill Levels: Finding the Right Project for Everyone
Beginners can start with painted eggs or paper chicks. More skilled crafters might try decoupage eggs or wood signs. easter diy crafts for adults often include advanced techniques like fabric-wrapping or rustic painting.
Choose projects that match everyone’s skill level to ensure fun for all.
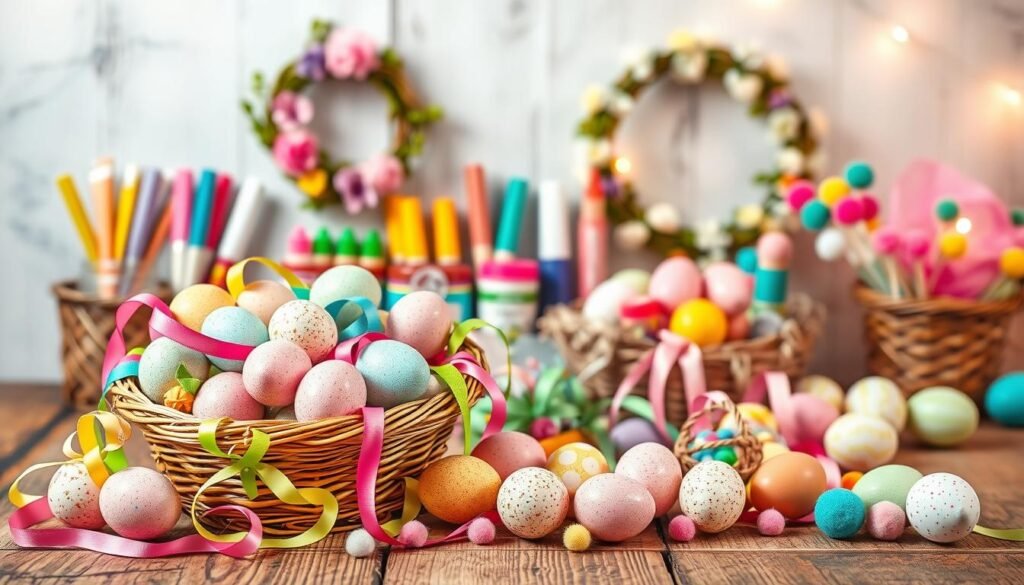
Colorful Easter Egg Wreaths for Your Front Door
Make your entryway pop with these bright egg wreaths. Pick a strong wreath base, like foam or grapevine. Then, choose eggs in soft colors or shiny finishes.
For easter diy crafts decor, stack eggs of different sizes. Use floral wire or hot glue to hold them in place. Add some greenery or silk flowers to make it more interesting.
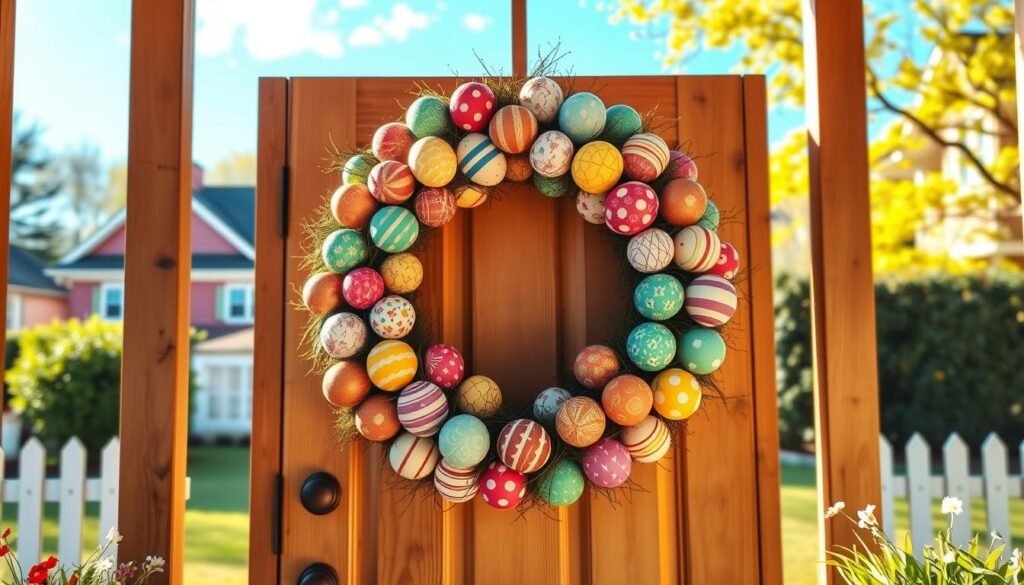
Keep your wreaths safe with Mod Podge Outdoor or clear spray. You can also add ribbon bows or lights for a nighttime sparkle. These easter diy crafts to sell are perfect for markets.
Try these ideas:
- Glitter-dipped eggs for a fun look
- Mini eggs around a big egg
- Wooden eggs with floral designs
Use twine-wrapped wire to hang them, making sure they can hold the weight. Store them in airtight containers after Easter. These projects are both fun and useful, great for home decor or easter diy crafts to sell. People enjoy making them personal with names or monograms.
Adorable Bunny Mason Jar Luminaries
Turn regular mason jars into cute bunny lights with these easy easter diy crafts. They add a fun touch to your home. Kids can help too, with adult supervision, making it a great easter diy crafts for toddlers activity.
Gathering Your Supplies
First, gather these items:
- Mason jars (wide-mouth recommended)
- White acrylic paint or white tissue paper
- Googly eyes (large for visibility)
- Black markers or paint for details
- Cotton balls or faux fur scraps
- Battery-operated tea lights

Creating the Bunny Face
Here’s how to make a bunny:
- Paint the jar white or wrap it in tissue paper for a fluffy look.
- Stick googly eyes near the jar’s shoulder.
- Draw nostrils and a mouth with black markers.
- Glue cotton balls to the lid for a tail.
Pro hack: Pre-cut cotton shapes for toddlers to arrange themselves.
Adding the Finishing Touches
Use construction paper or foam shapes for ears. Glue them to the jar’s sides. Put a battery-operated light inside for a bright centerpiece. For younger crafters, offer pre-painted jars and stickers for decoration.
Easter DIY Crafts for Kids: Pom-Pom Chick Baskets
Turn simple craft items into happy chick baskets with these easter diy crafts for kids. Great for Easter egg hunts or spring fun, these activities let kids be creative while staying safe and clean.

Safe Crafting Tips for Young Children
Begin with these tips:
- Use blunt-tip scissors and foam shapes for cutting.
- Choose washable glue and non-toxic paints.
- Set up an easy-to-clean workspace with newspaper or a tray.
Step-by-Step Basket Assembly
- Cut a paper plate in a half-moon shape for the base.
- Glue yellow pom-poms along the edges for fluffly feathers.
- Attach a small orange triangle beak and wiggly eyes.
- Form a handle by rolling craft paper into a loop.
Decorating Ideas Kids Will Love
Let them add their own touches with:
- Feather crowns using craft glue.
- Pompom “eggs” filled with tiny treats.
- Name tags written on craft paper wings.
These easter diy crafts kids make crafting a fun time together. Embrace the joy of making something unique. Let kids enjoy their handiwork and feel proud of their creations.
Rustic Wooden Easter Signs for Farmhouse Decor
Turn plain wood into beautiful Easter decor with these rustic signs. They’re perfect for mantels or garden entries, adding warmth to any space. Choose pine or reclaimed wood for that weathered look. No experience needed—just simple tools and paint.
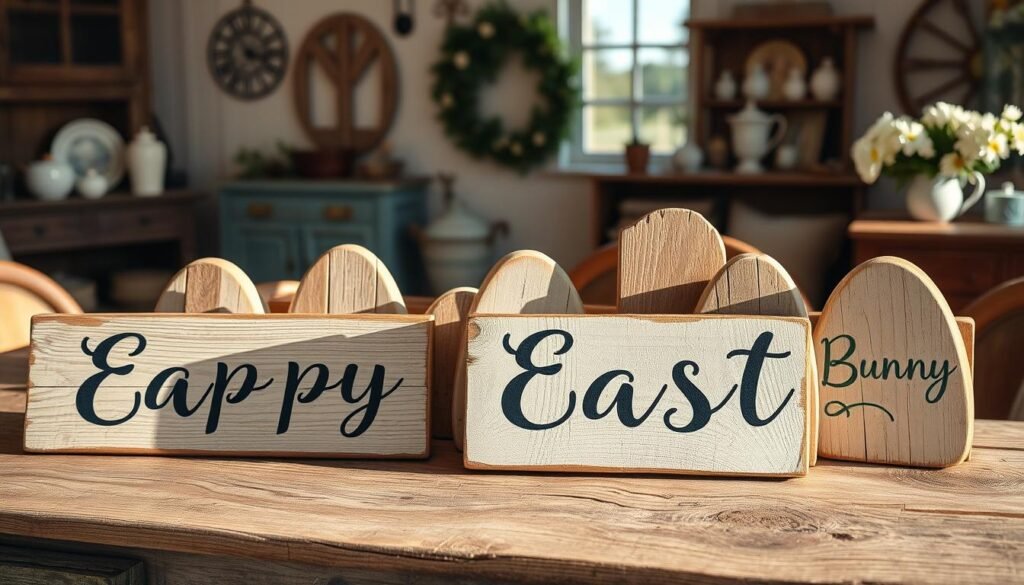
- Materials: 1×12-inch pine board, chalk paint (try Americana’s “French White” or Rust-Oleum chalk paint), sandpaper, Easter-themed stencils.
- Design tips: Use masking tape for plaid patterns or sand edges for an aged look.
- Customize: Paint phrases like “He Is Risen” or floral motifs using stencils for clean lines.
Want to make money from your craft? These easter diy crafts to sell are great gifts or market finds. Price small signs at $20–30 and add twine hangers. Package in kraft paper with twine bows for a rustic touch.
“Adding gold leaf accents boosts resale value,” says Etsy seller @FarmhouseCraftCo, who sells 50+ signs yearly.
Seal with polyurethane spray for durability. Hang them outdoors or indoors—they last long after Easter. Whether keeping or selling, these signs mix farmhouse style with DIY magic.
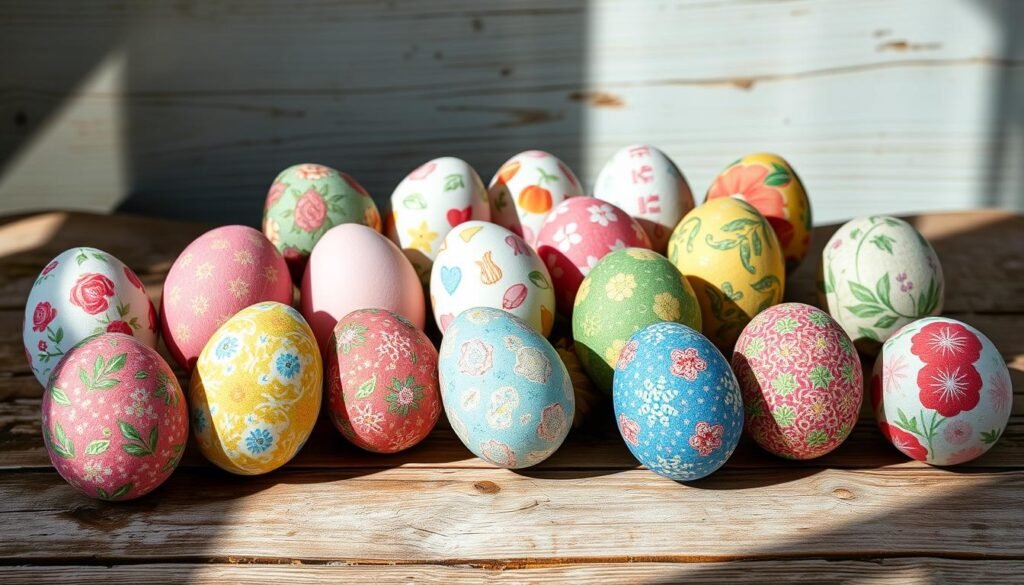
Paper Flower Easter Eggs: A Dollar Tree Special
Turn simple supplies into stunning decor with these easter diy crafts dollar tree ideas. Make colorful paper flowers that look like real eggs for your Easter display. And do it all without spending too much. Here’s how to create beautiful decor on a budget.
Budget-Friendly Materials List
Begin by collecting these affordable items from Dollar Tree:
- Colored tissue paper (packs of 12)
- Wire-edge floral stems
- Glue sticks and hot glue guns
- Wire-coated plastic eggs
- Green floral tape
Pro tip: Look for discounted crafting kits at Dollar Tree in March and April.
Cutting and Shaping Your Paper Flowers
Cut tissue paper into 3-inch squares. Stack 3-5 layers and fold like an accordion. Trim edges into petal shapes for full blossoms. Use a pencil to curl petals with your fingers for dimension.
Assembly Techniques for Perfect Eggs
Wrap floral wire around egg bases, then hot-glue layered petals starting at the top. Add greenery with floral tape for stems. Let dry 10-15 minutes before handling.
These easter diy crafts paper creations are perfect as table centerpieces or porch decorations. Share your finished projects on social media with #DollarTreeCrafts for inspiration!
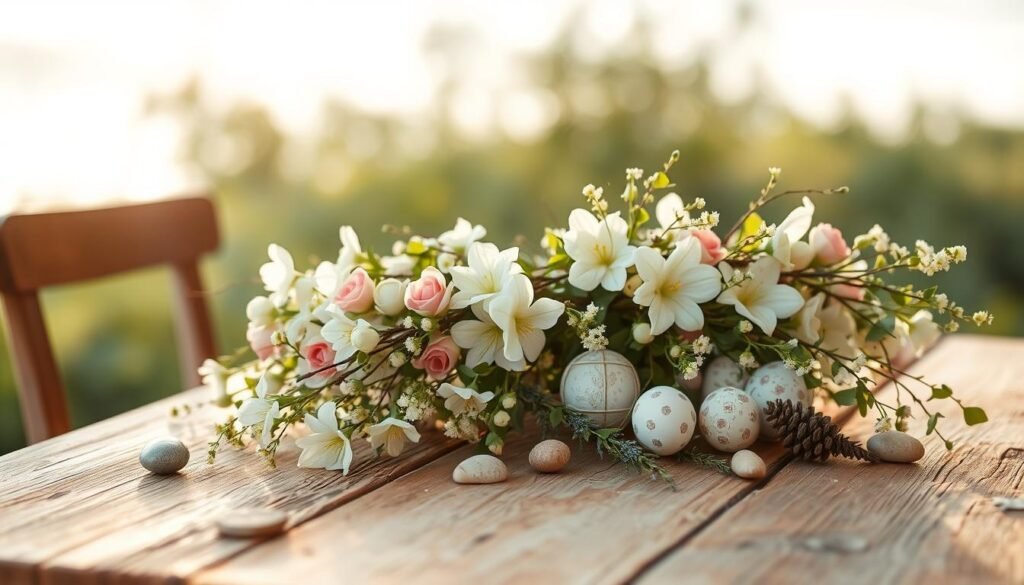
Natural Element Easter Centerpieces for Your Table
Turn your dining table into a spring paradise with easter diy crafts decor that celebrates nature. Use branches, fresh flowers, moss, and painted eggs for centerpieces. These easter diy crafts for adults are simple yet charming, using items from your backyard or local market.
Start with a strong base like a wooden tray or basket. Add dried or fresh eucalyptus, pinecones, and birch branches for texture. Use soft pink or ivory hyacinths or tulips for color. Place hand-painted ceramic eggs among the greenery to hold the design together. For a design that doesn’t block conversation, group smaller items near the table’s edge.
Pro tips:
– Secure stems with floral wire to a hidden frame for stability.
– Keep delicate petals fresh by spritzing with hairspray.
– Make sure your design is balanced to avoid overwhelming the table.
These projects show easter diy crafts for adults can be easy. Try pairing driftwood slices with edible lavender sprigs for a centerpiece that guests can take home. Using local, seasonal materials creates decor that’s both meaningful and easy to make. Let nature inspire your choices—each arrangement tells a story of spring’s renewal without costing much.
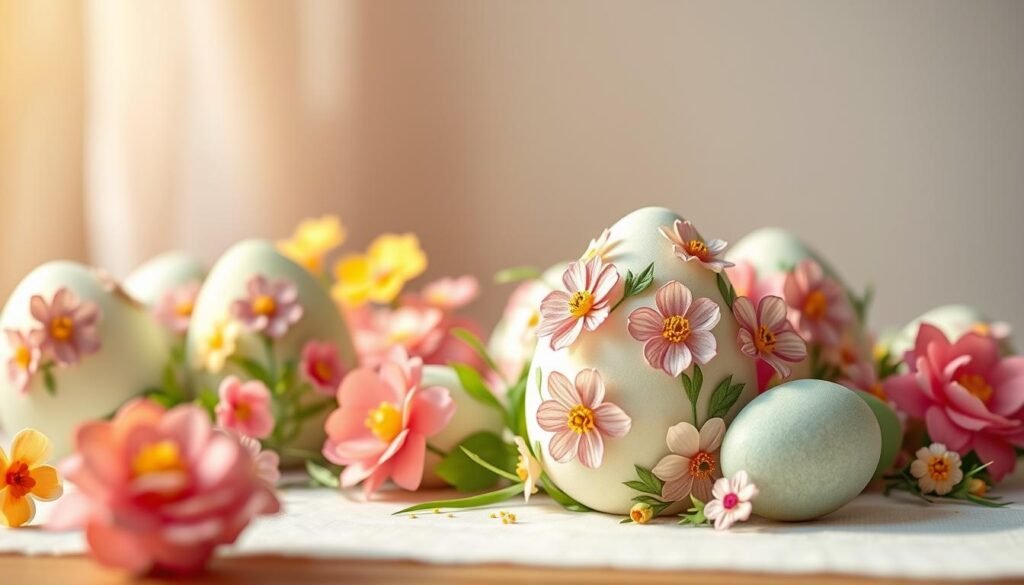
Easter DIY Crafts for Adults: Fabric-Covered Decorative Eggs
Turn simple eggs into elegant decor with fabric. These easter diy crafts for adults mix creativity with practical use. They’re great for decorating your home or easter diy crafts to sell at markets.
Choose fabrics that tell a story. Think vintage lace, floral prints, or scrapbook fabrics. Make sure the patterns fit well with the egg shape.
Choosing the Right Fabrics
Use lightweight, non-woven materials like burlap or linen for texture. Or, pick bold fabrics from stores like Joann or Fabric.com. Remember, cut fabric 1-2 inches bigger than the egg to avoid gaps.
Quilting cotton from brands like Moda Fabrics is durable and lets you show off designs.
Decoupage Techniques for Beginners
- Apply a thin layer of Mod Podge adhesive using a foam brush.
- Wrap fabric smoothly around the egg, trimming excess with scissors.
- Seal with 2-3 clear coat layers, letting each dry before adding the next.
Pro hack: Use a toothpick to remove air bubbles without wrinkling the fabric. You can display them as-is or add gold leaf accents for a more luxurious look.
Creating an Elegant Display
Show off eggs in glass domes, on a farmhouse-style tray, or as wall art with twine. For sales, add branded tags with materials and care info. Prices start at $15-25 per piece, perfect for boutiques or Etsy.
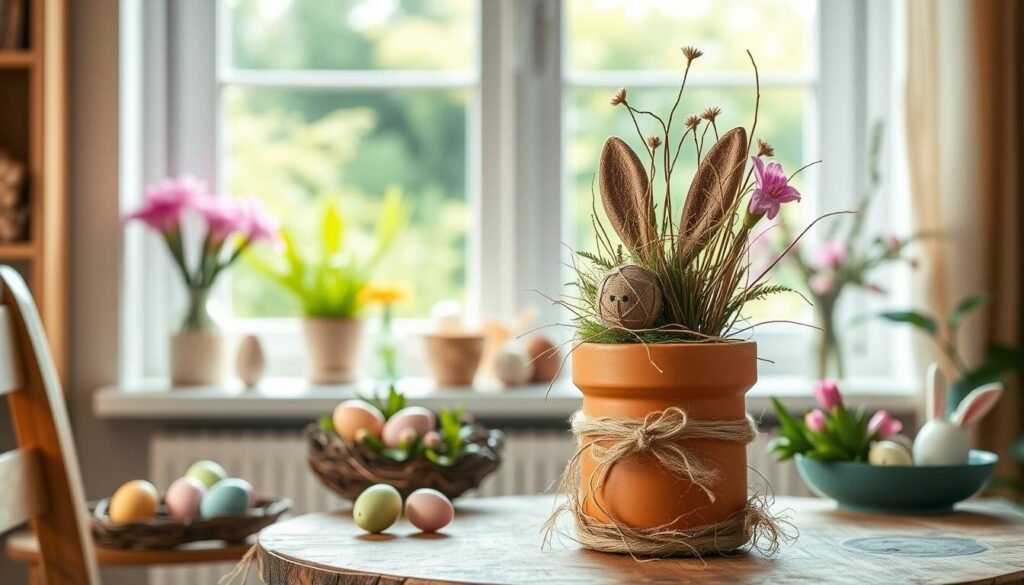
Upcycled Easter Bunny Planters from Household Items
Transform trash into treasures with easter diy crafts that give old containers a new life. Plastic bottles, tin cans, or milk jugs can turn into cute bunnies holding flowers or herbs. These planters bring fun to patios or nurseries while reducing waste.
- Materials: Clean containers, acrylic paints, googly eyes, hot glue, and non-toxic markers.
- Tools: Scissors (adult use only), paintbrushes, and a permanent marker.
Start by drawing bunny faces with a marker. Paint the bases in soft colors and wait for them to dry. Use cotton balls for tails or ears. Add googly eyes and fill with soil. Mini succulents or grass sprouts are great for little hands. For easter diy crafts baby, make sure to sand edges smooth and avoid small parts.
- Cut container tops into ear shapes using sturdy scissors.
- Paint the entire surface with white or pink acrylic paint.
- Glue on craft foam noses and pipe-cleaner whiskers.
“My baby loved the soft bunny planters—they’re safe to touch and teach eco-friendly habits!” – Sarah, eco-parenting blogger
These projects are perfect for baby room decor or Easter table accents. Wrap handles with fabric scraps for a better grip. They’re great for toddlers to water plants or take photos. Upcycling saves money, space, and sparks creativity. Share your eco-crafts on social media with #EasterUpcycle for inspiration!
Quick and Easy Easter Crafts for Last-Minute Decorating
When time is tight, these easter diy crafts toddler and easter diy crafts for babies bring festive charm in minutes. They are perfect for busy parents. These projects are quick, creative, and keep little hands busy.
15-Minute Paper Garlands
Turn plain paper into colorful garlands in under 15 minutes. You’ll need construction paper, scissors, and string. Cut out egg, bunny, or floral shapes, punch holes, and thread them onto twine. easter diy crafts for babies can involve toddlers by letting them decorate pre-cut shapes with stickers.
- Cut paper into 3-inch ovals or bunnies
- Punch two holes at top and bottom
- String shapes with yarn or ribbon
Simple Easter Egg Candle Holders
Use plastic eggs as candle holders with tissue paper and glue. Layer tissue in egg halves, add battery-operated candles, and display on tables. This easter diy crafts toddler activity lets kids choose colors while you handle sharp objects.
No-Sew Fabric Bunnies
Make soft stuffed bunnies with felt or scrap fabric. Cut ear shapes, staple edges, and stuff with fiberfill. Add buttons for eyes—perfect for easter diy crafts for babies as no sewing is required. Decorate with fabric markers for extra flair.
These ideas show even last-minute prep can be joyful. Involve children safely, use household items, and enjoy Easter-ready spaces in no time.
Conclusion: Bringing Easter Joy Through Handmade Crafts
Easter DIY crafts turn holiday traditions into cherished memories. They range from tiny paper flowers for babies to elegant projects for adults. Each craft is a labor of love, bringing families closer together.
Even the youngest can contribute, making simple crafts like glued-on buttons or painted paw prints. These imperfections add to the charm, showing that the joy is in the making, not the outcome.
These crafts help create lasting traditions. A fabric-covered egg today might be a keepsake for your kids in years to come. Capturing these moments with photos or journals keeps the laughter and learning alive.
Start with something simple, like a garland or a no-sew bunny. Then, as you get more confident, try more complex projects. Each craft adds a special touch to your celebrations.
Creating together brings magic to Easter. Pick a project, gather your materials, and let your imagination run wild. Every handmade detail tells a story, making your Easter celebrations unforgettable.
You Can Also Checkout Pinterest For Latest Updates
Also Follow My Instagram Page
You Can Also Checkout More Blogs Here:

Top Wall & Ceiling Design Combinations for 2025 Homes
Your home is the reflection of your personality, your style, and the memories you build every day. In 2025, homeowners

Top Home Decor Trends for 2025You Should Not Miss
From the moment we step into our homes after a long day, we crave comfort, warmth, and a space that

Designing a Dual-Purpose Home Office and Bedroom (2025 Guide)
In 2025, Many American families are living in homes that require more maintenance than ever before. With remote work becoming